Rippling SAML
NewLearn how to configure a connection to Rippling via SAML.
Each SSO Identity Provider requires specific information to create and configure a new Connection. Often, the information required to create a Connection will differ by Identity Provider.
To create a Rippling SAML Connection, you’ll need the Identity Provider metadata that is available from creating an app within the Rippling instance.
Start by logging in to your WorkOS dashboard and browse to the “Organizations” tab on the left hand navigation bar.
Select the organization you wish to configure a Rippling SAML Connection for, and select “Manually Configure Connection” under “Identity Provider”.

Select “Rippling SAML” from the Identity Provider dropdown, enter a descriptive name for the connection, and then select the “Create Connection” button.

WorkOS provides the ACS URL and SP Entity ID. They’re readily available in your Connection Settings in the WorkOS Dashboard

The ACS URL is the location an Identity Provider redirects its authentication response to.
The Entity ID is a URI used to identify the issuer of a SAML request, response, or assertion. In this case, the Entity ID is used to communicate to that WorkOS will be the party performing SAML requests to the Enterprise’s Rippling instance.
In order to integrate you’ll need the Rippling IdP metadata.
Normally, this information will come from your Enterprise customer’s IT Management team when they set up your application’s Rippling configuration. But, should that not be the case during your setup, here’s how to obtain them.
Log in to Rippling as an Adminstrator and select “IT Management” then “Custom App” from the left-side navigation bar.

Select “Create New App” to begin creating a new SAML application.

Give the app a descriptive name. You can select a category if relevant, but this field is not required. You will however, need to upload a logo file. Make sure to check the box for “Supports SAML”, then click “Create App”.

Select the option confirming that you are the Application Admin. Rippling will display a new page with “SSO Setup Instructions” we will use in the next step.

Rippling will present the SSO Setup instructions which will include the IdP Metadata XML file. Click to download the file from Rippling.

Save this file in a memorable place, as we will upload it to the WorkOS dashboard in a later step.
Scrolling down on the SSO Setup Instructions, Rippling will request the ACS URL and Service Provider Entity ID.
Input the ACS URL and SP Entity ID from the WorkOS dashboard into the respective fields.
Once complete, click the “Move to Next Step Button”.

Click “Visit the app”. The application settings will be presented, here we will configure the SAML attribute mapping in the next step.

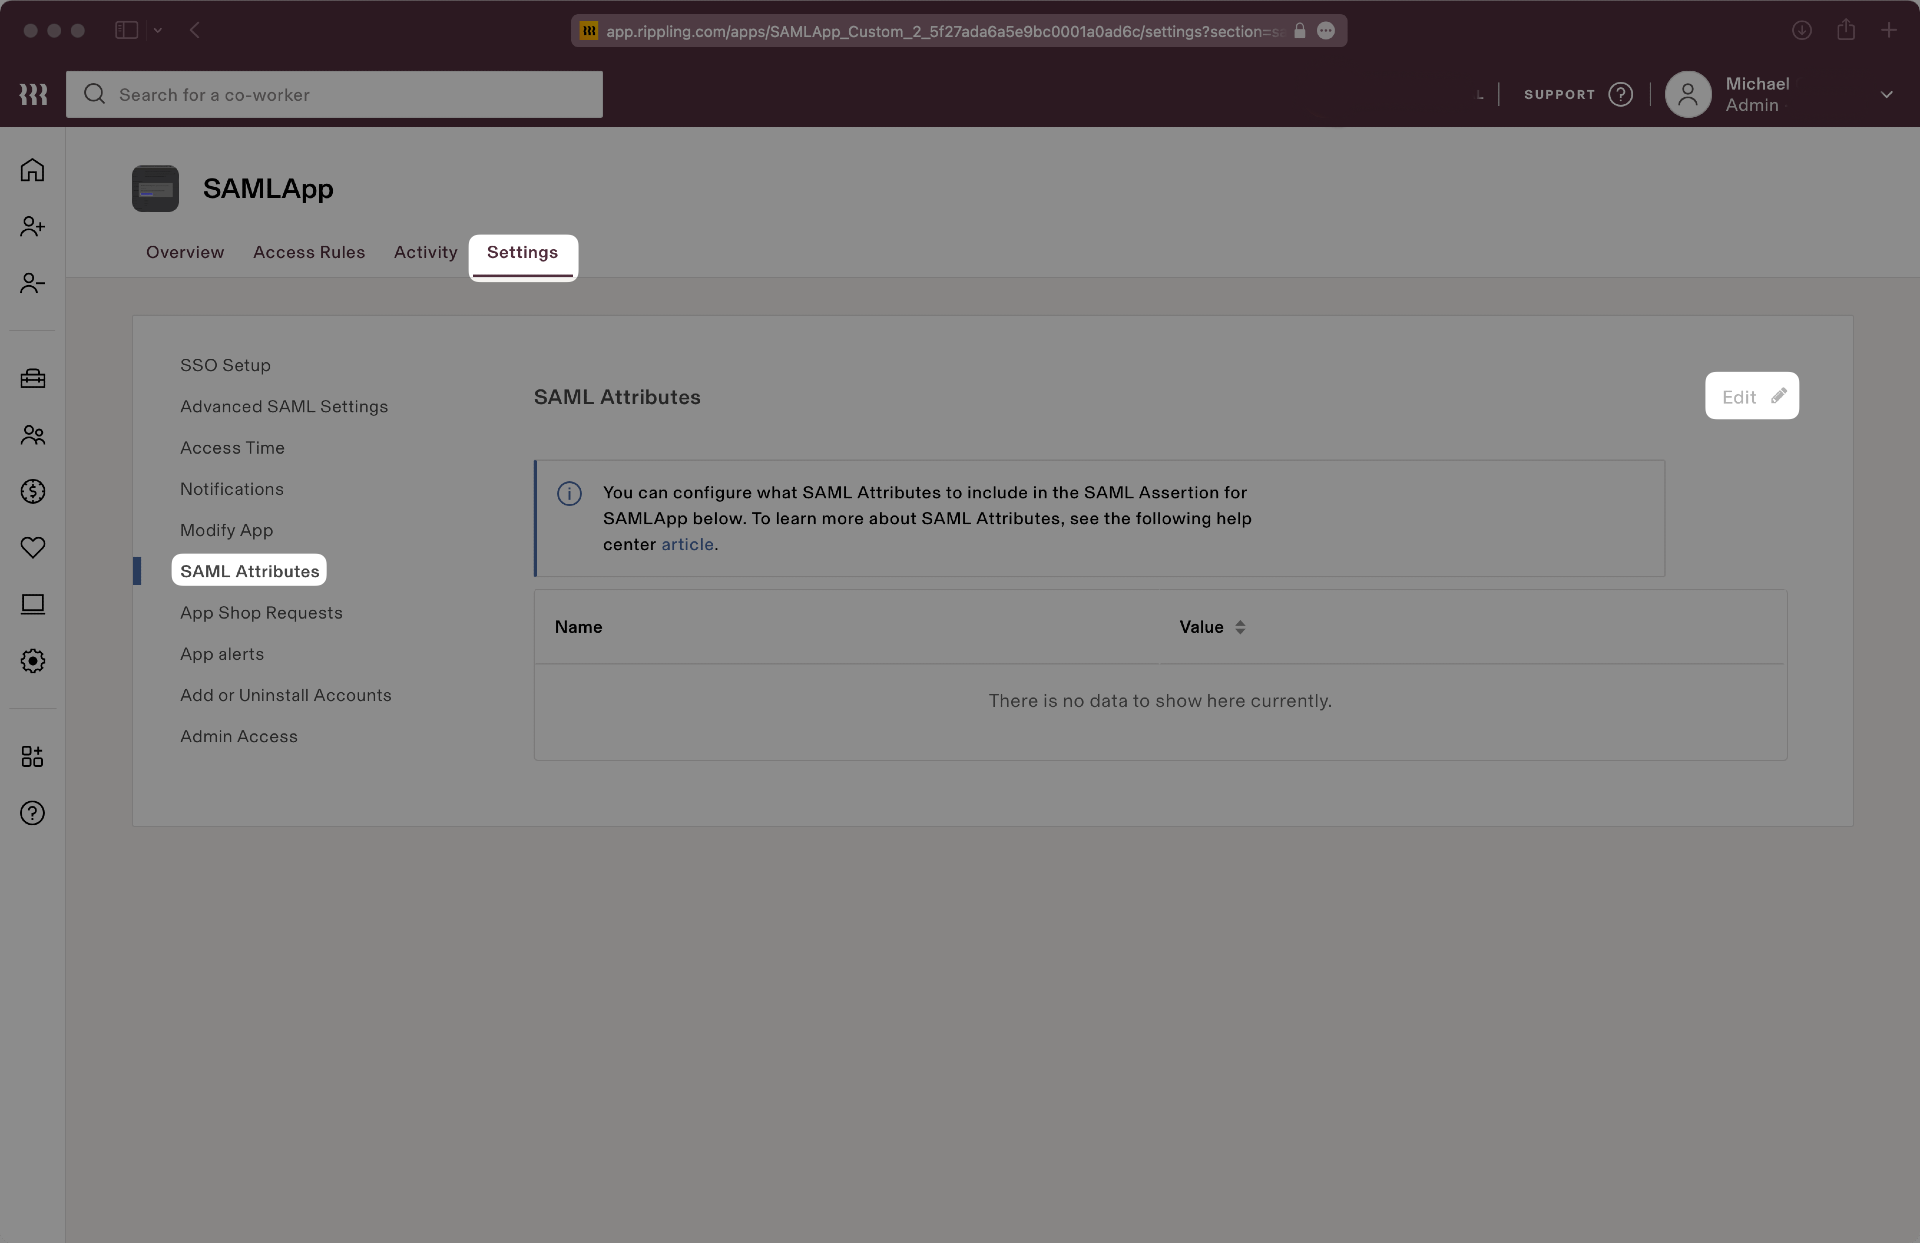
Select the “Settings” tab then on the left navigation select “SAML Attributes” and use the “Edit” button to add the following key-value pairs. Then, click “Save”.
Input the attributes as follows:
- id → User’s ID
- email → User’s email address
- firstName → User’s Legal first name
- lastName → User’s Legal last name

Click the “Save” button to save these settings. In the next step, we will complete the integration by uploading the Metadata XML file to the WorkOS Dashboard.
Return to the Rippling connection in the WorkOS dashboard and select “Edit Metadata Configuration”.

Upload the XML metadata file from Rippling into the “Metadata File” field and select “Save Metadata Configuration”. Your Connection will then be linked and good to go!
