Azure AD SCIM
Learn about syncing your user list with Azure AD SCIM.
This guide outlines how to synchronize your application’s Azure AD directories using SCIM v2.0.
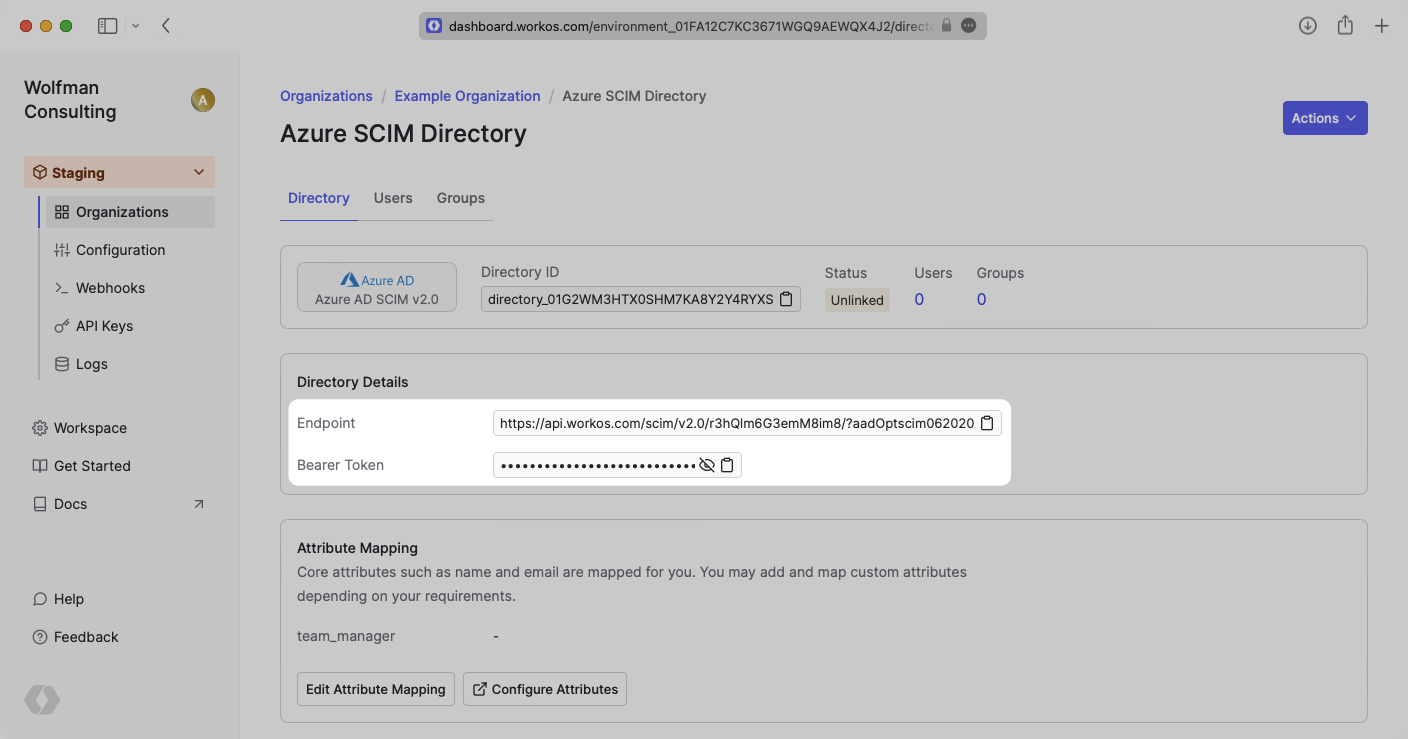
To synchronize an Enterprise’s users and groups provisioned for your application, you’ll need to provide the Enterprise with two pieces of information:
- An Endpoint that Azure AD will make requests to.
- A Bearer Token for Azure AD to authenticate its endpoint requests.
Both of these are available in your Endpoint’s Settings in the WorkOS Dashboard.
Steps 2, 3, and 4 below will need to be carried out by the Enterprise when configuring your application in their Azure AD instance.
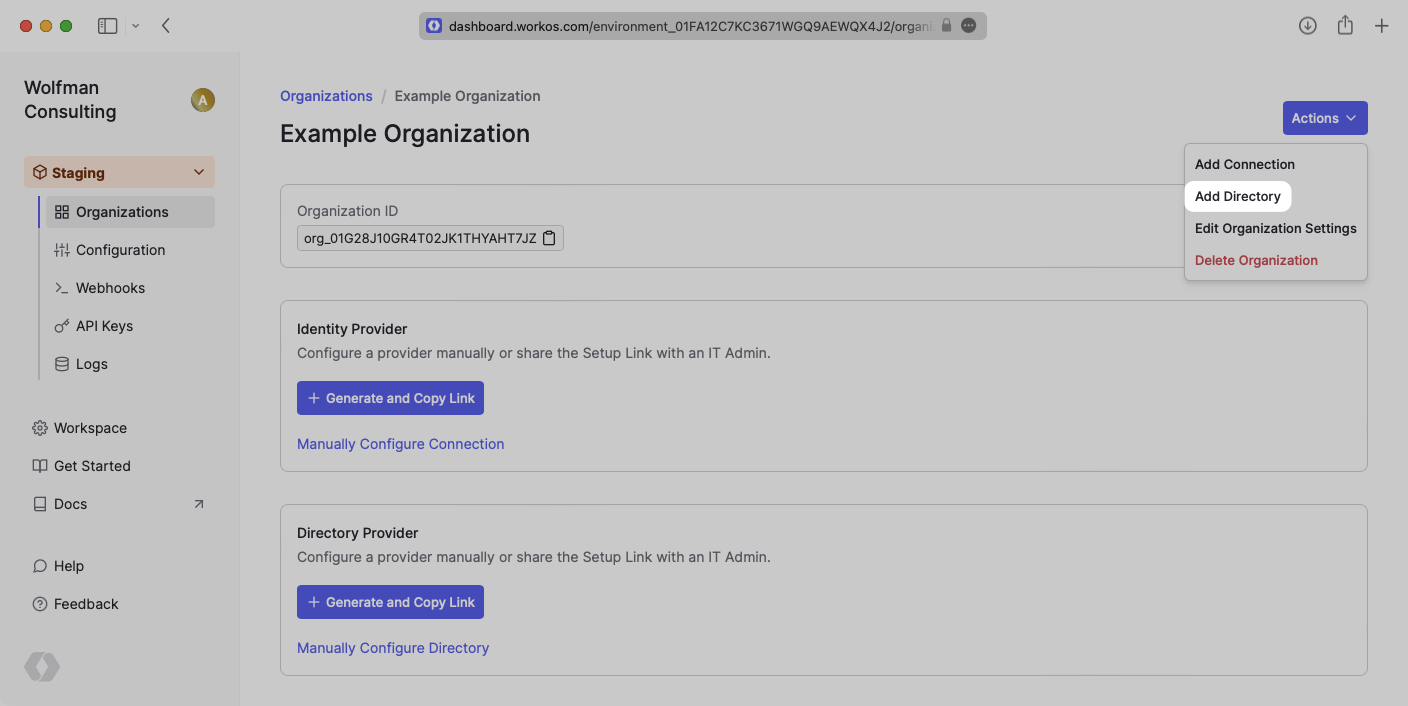
Sign in to your WorkOS Dashboard and select “Organizations” from the left hand navigation bar.
Select the organization you’ll be configuring a new Directory Sync for.
Click “Add Directory”.
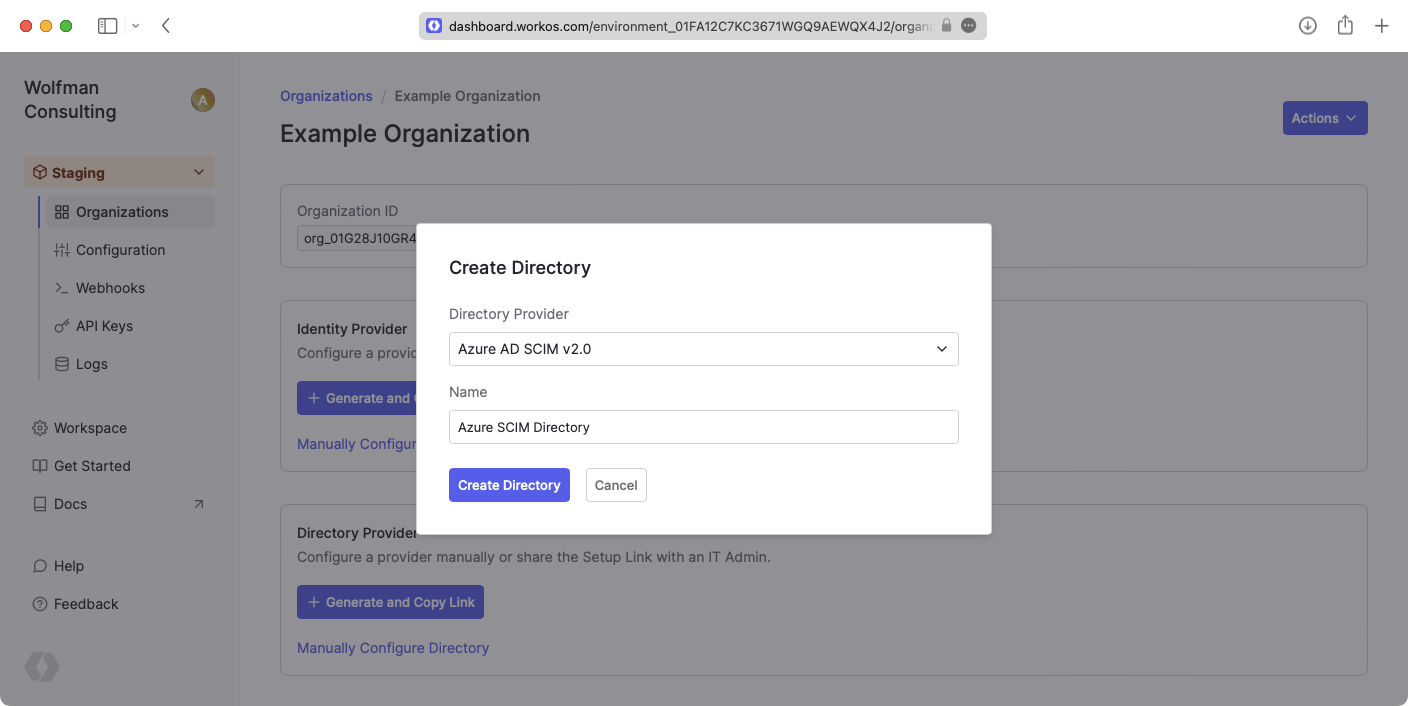
Select “Azure AD SCIM v2.0” from the dropdown, and input your Enterprise’s Name.
Then, click “Create Directory.”
We have support for whitelabeled URLs for Directory Sync endpoints. Contact us for more info!
Your Azure AD SCIM v2.0 directory sync has now been created successfully with an Endpoint and Bearer Token.
Sign in to the Azure Active Directory Admin Center Dashboard. Select “Enterprise applications” from the list of Azure services.
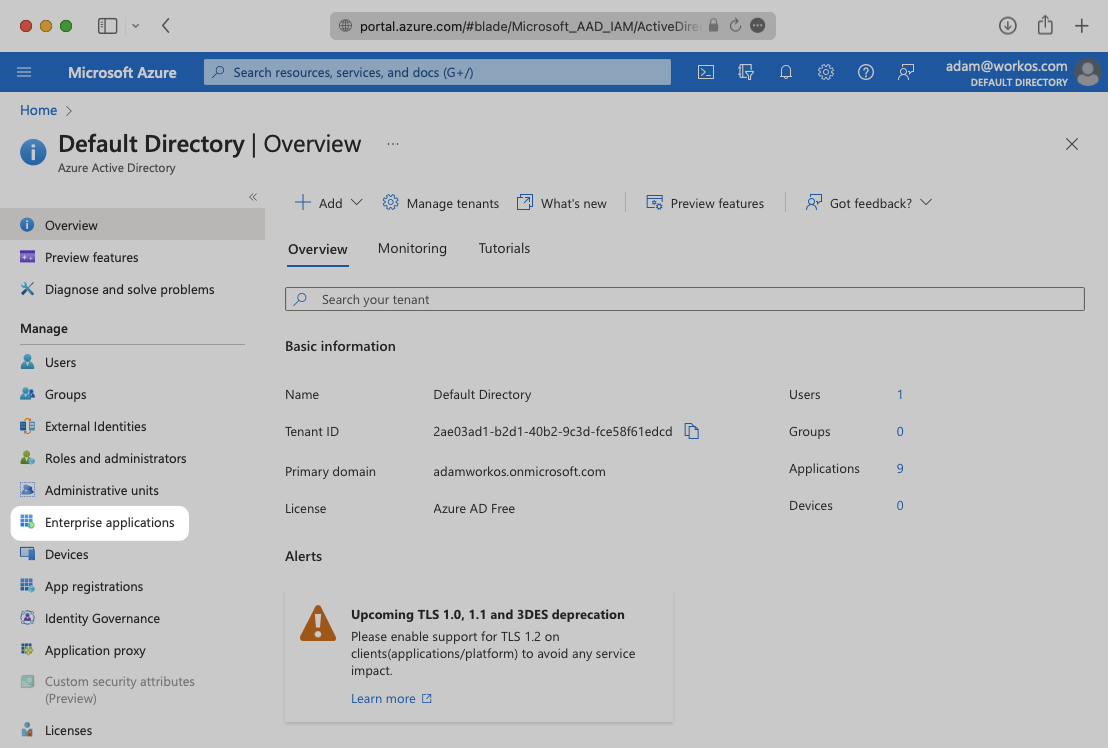
If your application is already created, select it from the list of applications and move to Step 3.
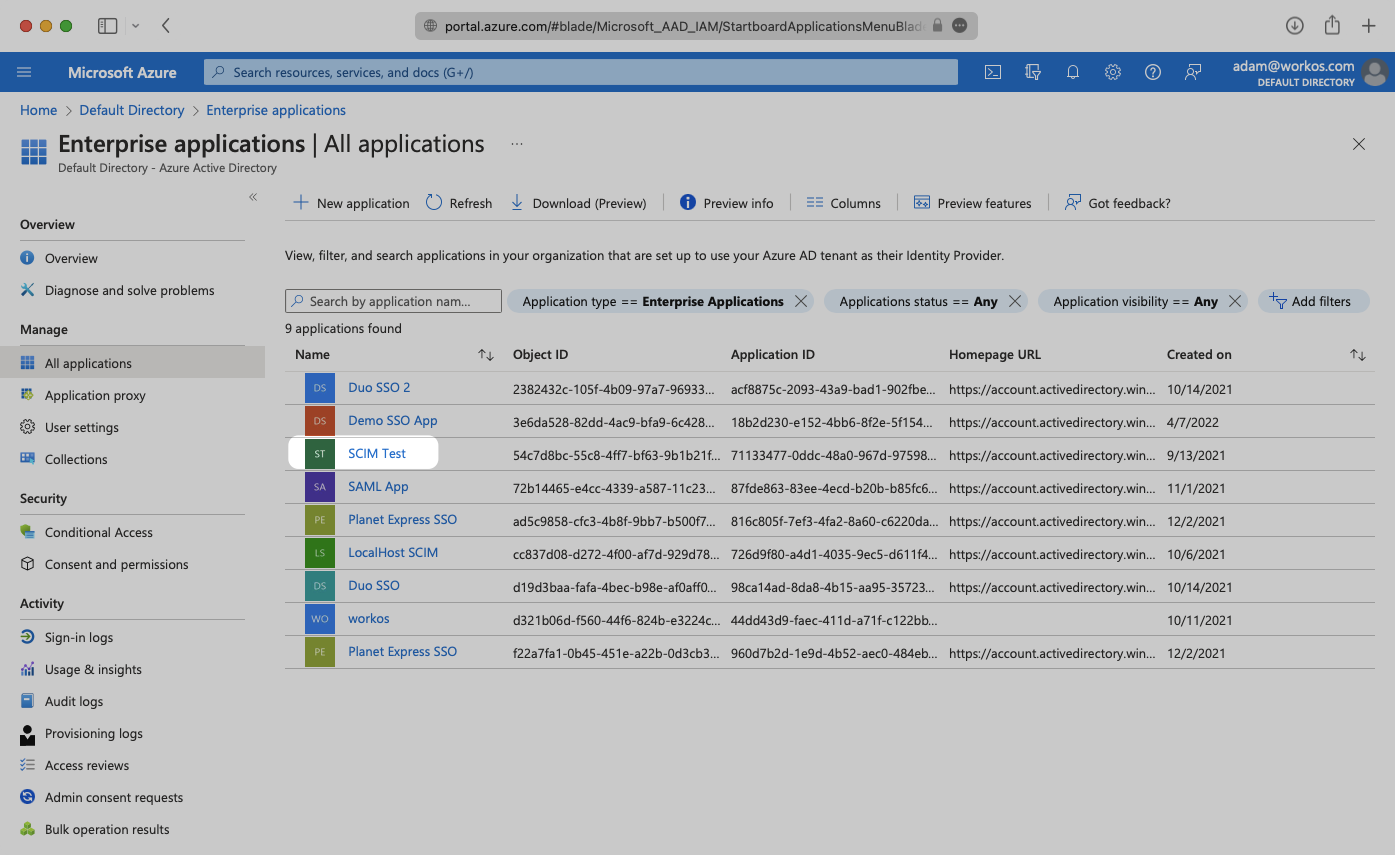
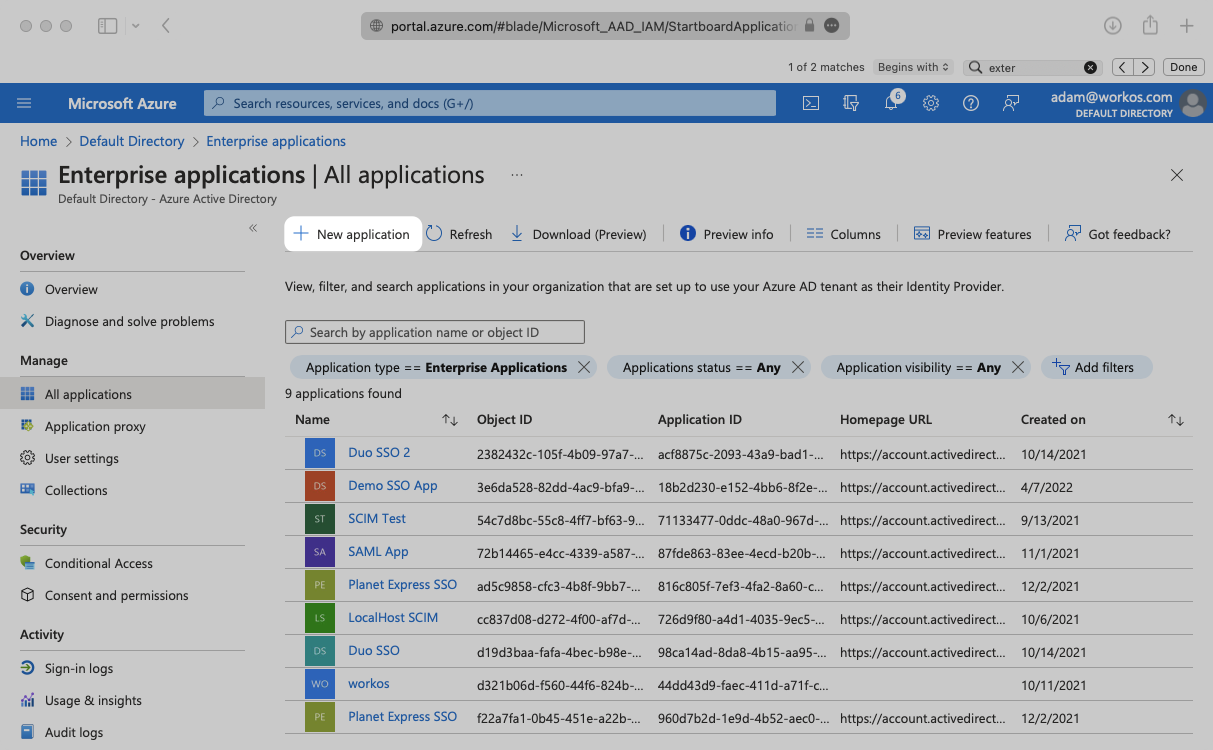
If you haven’t created a SCIM application in Azure, select “New Application”.
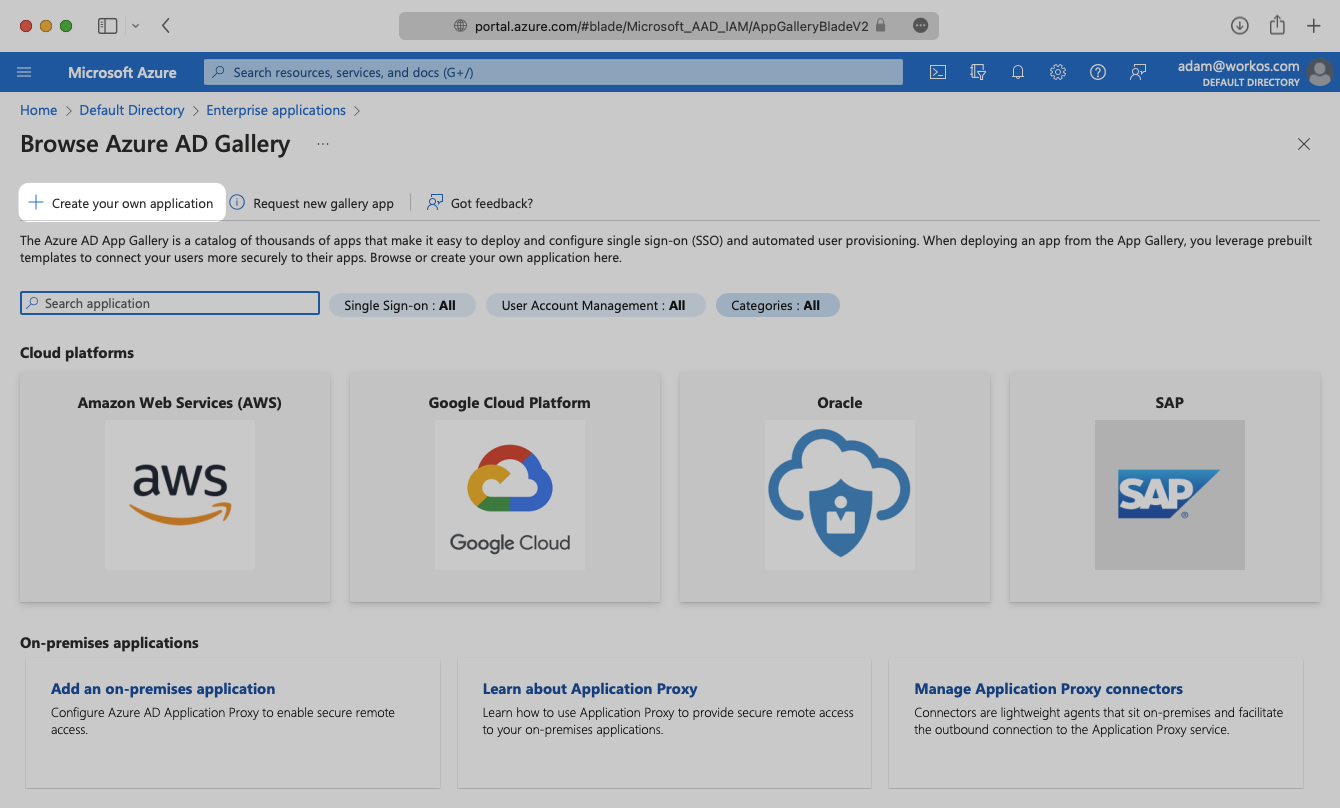
Select “Create your own application” and continue.
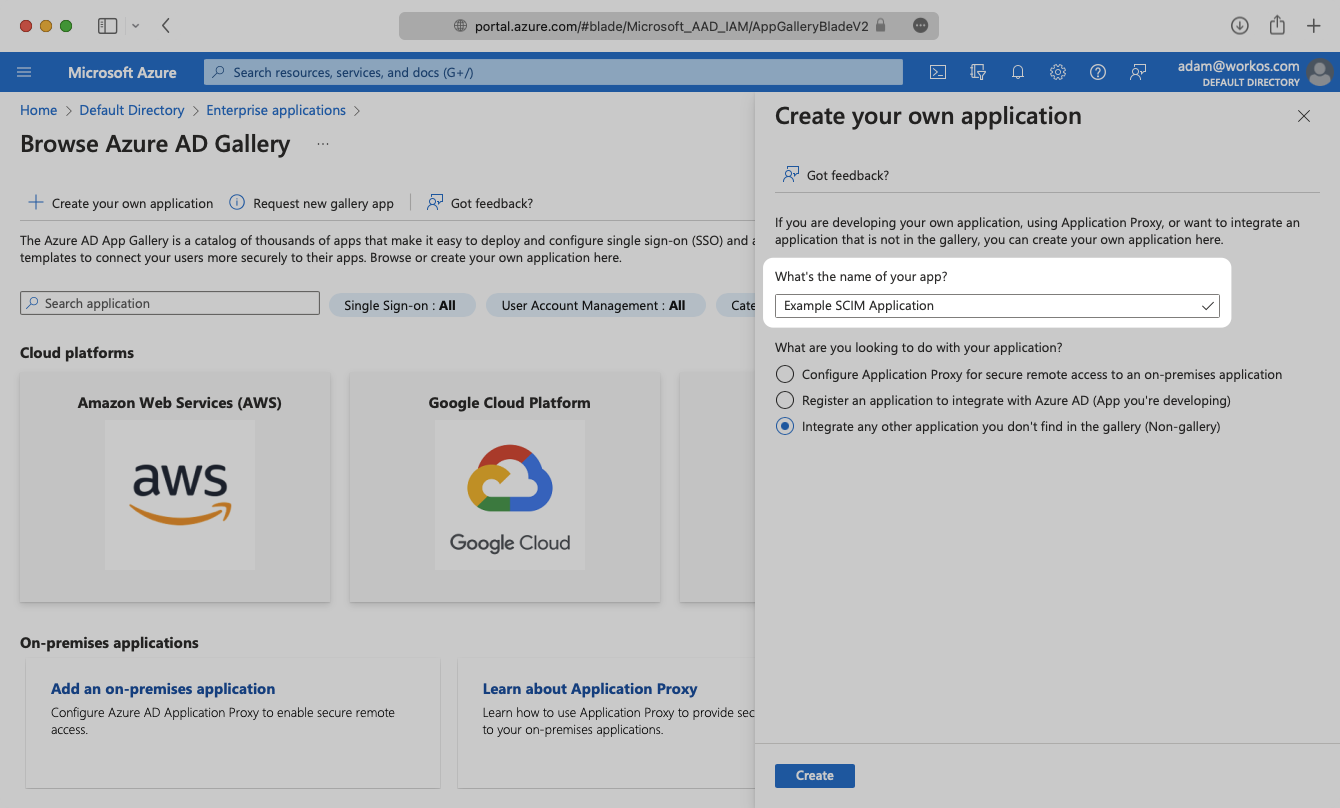
Give your application a descriptive name, and select the “Integrate any other application you don’t find in the gallery (Non-gallery)” option, then click “Create”.
Select “Provisioning” from the “Manage” section found in the navigation menu.
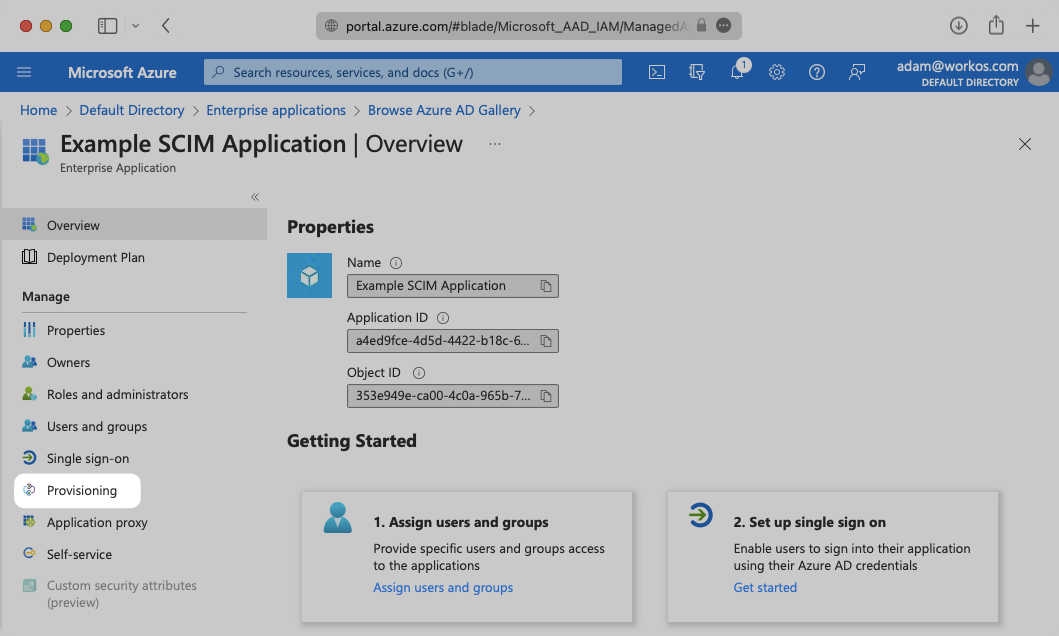
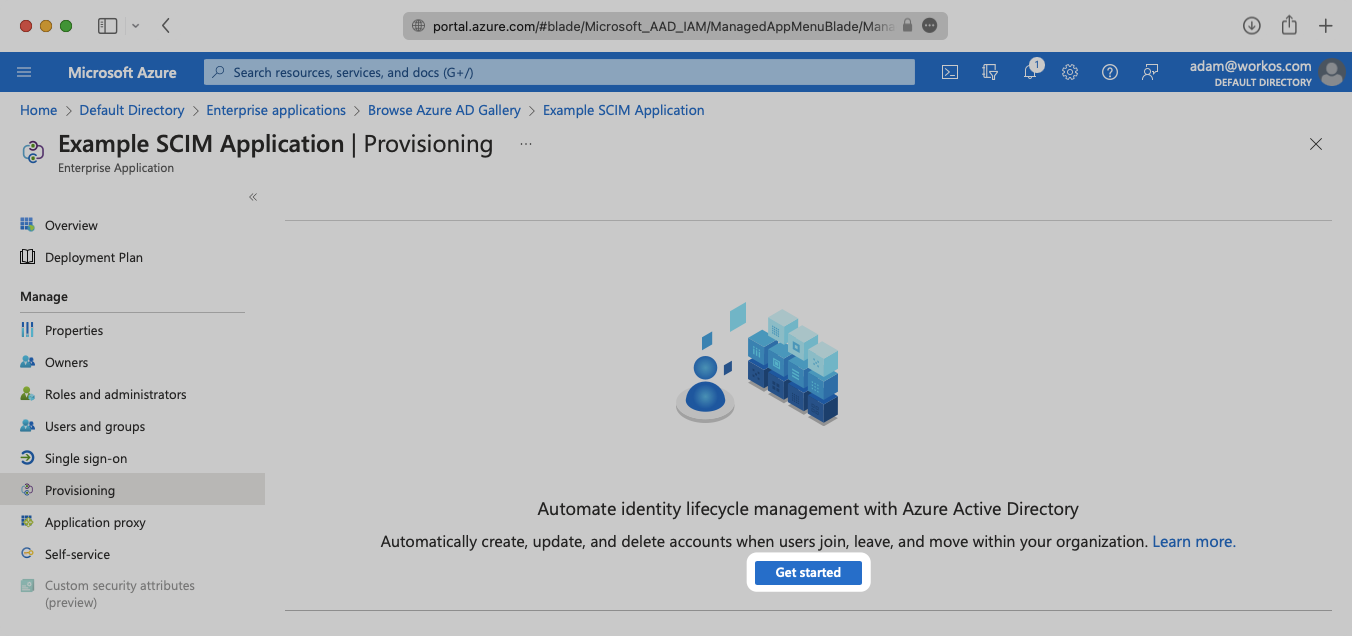
Click the “Get Started” button.
Select the “Automatic” Provisioning Mode from the dropdown menu.
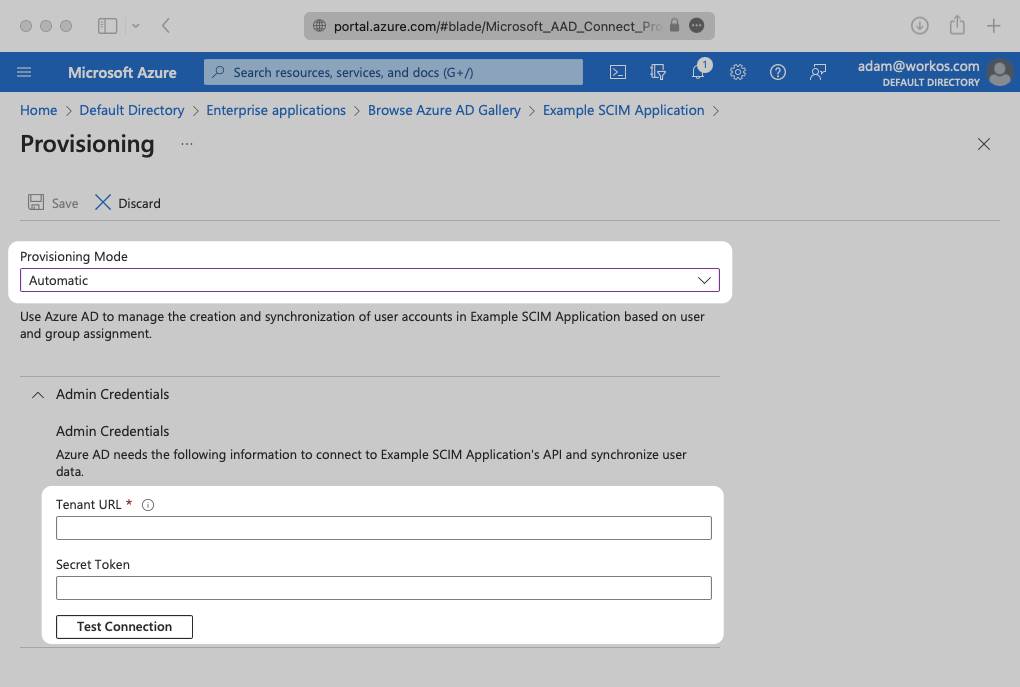
In the “Admin Credentials” section, copy and paste the Endpoint from your WorkOS Dashboard in the “Tenant URL” field.
Then, copy and paste the Bearer Token from your WorkOS Dashboard into the Secret Token field.
Click “Test Connection” to receive confirmation that your connection has been set up correctly. Then, select “Save” to persist the credentials.
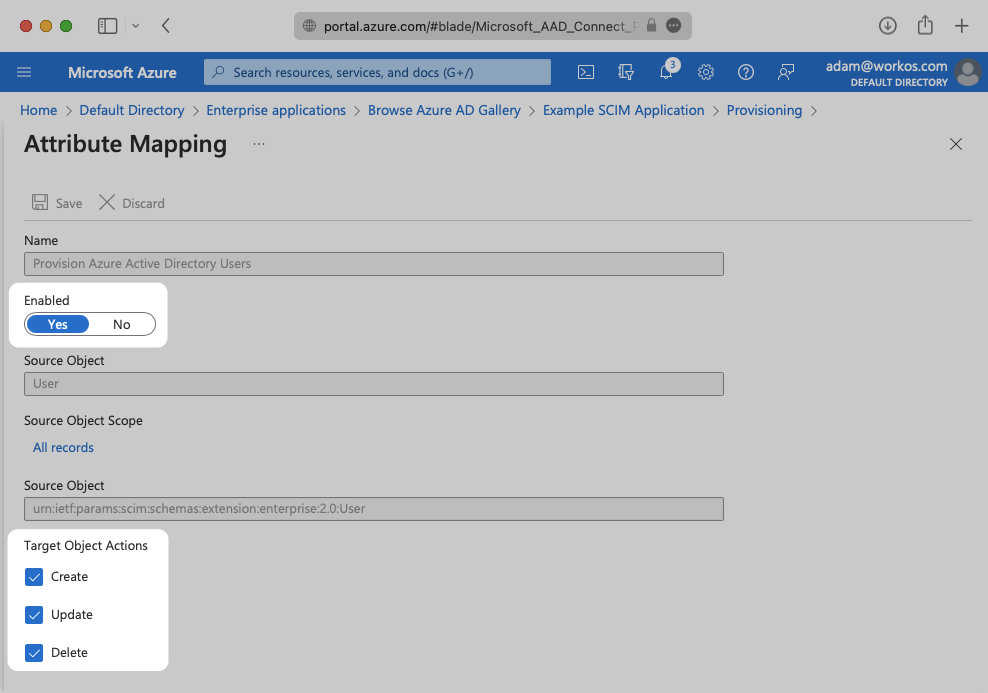
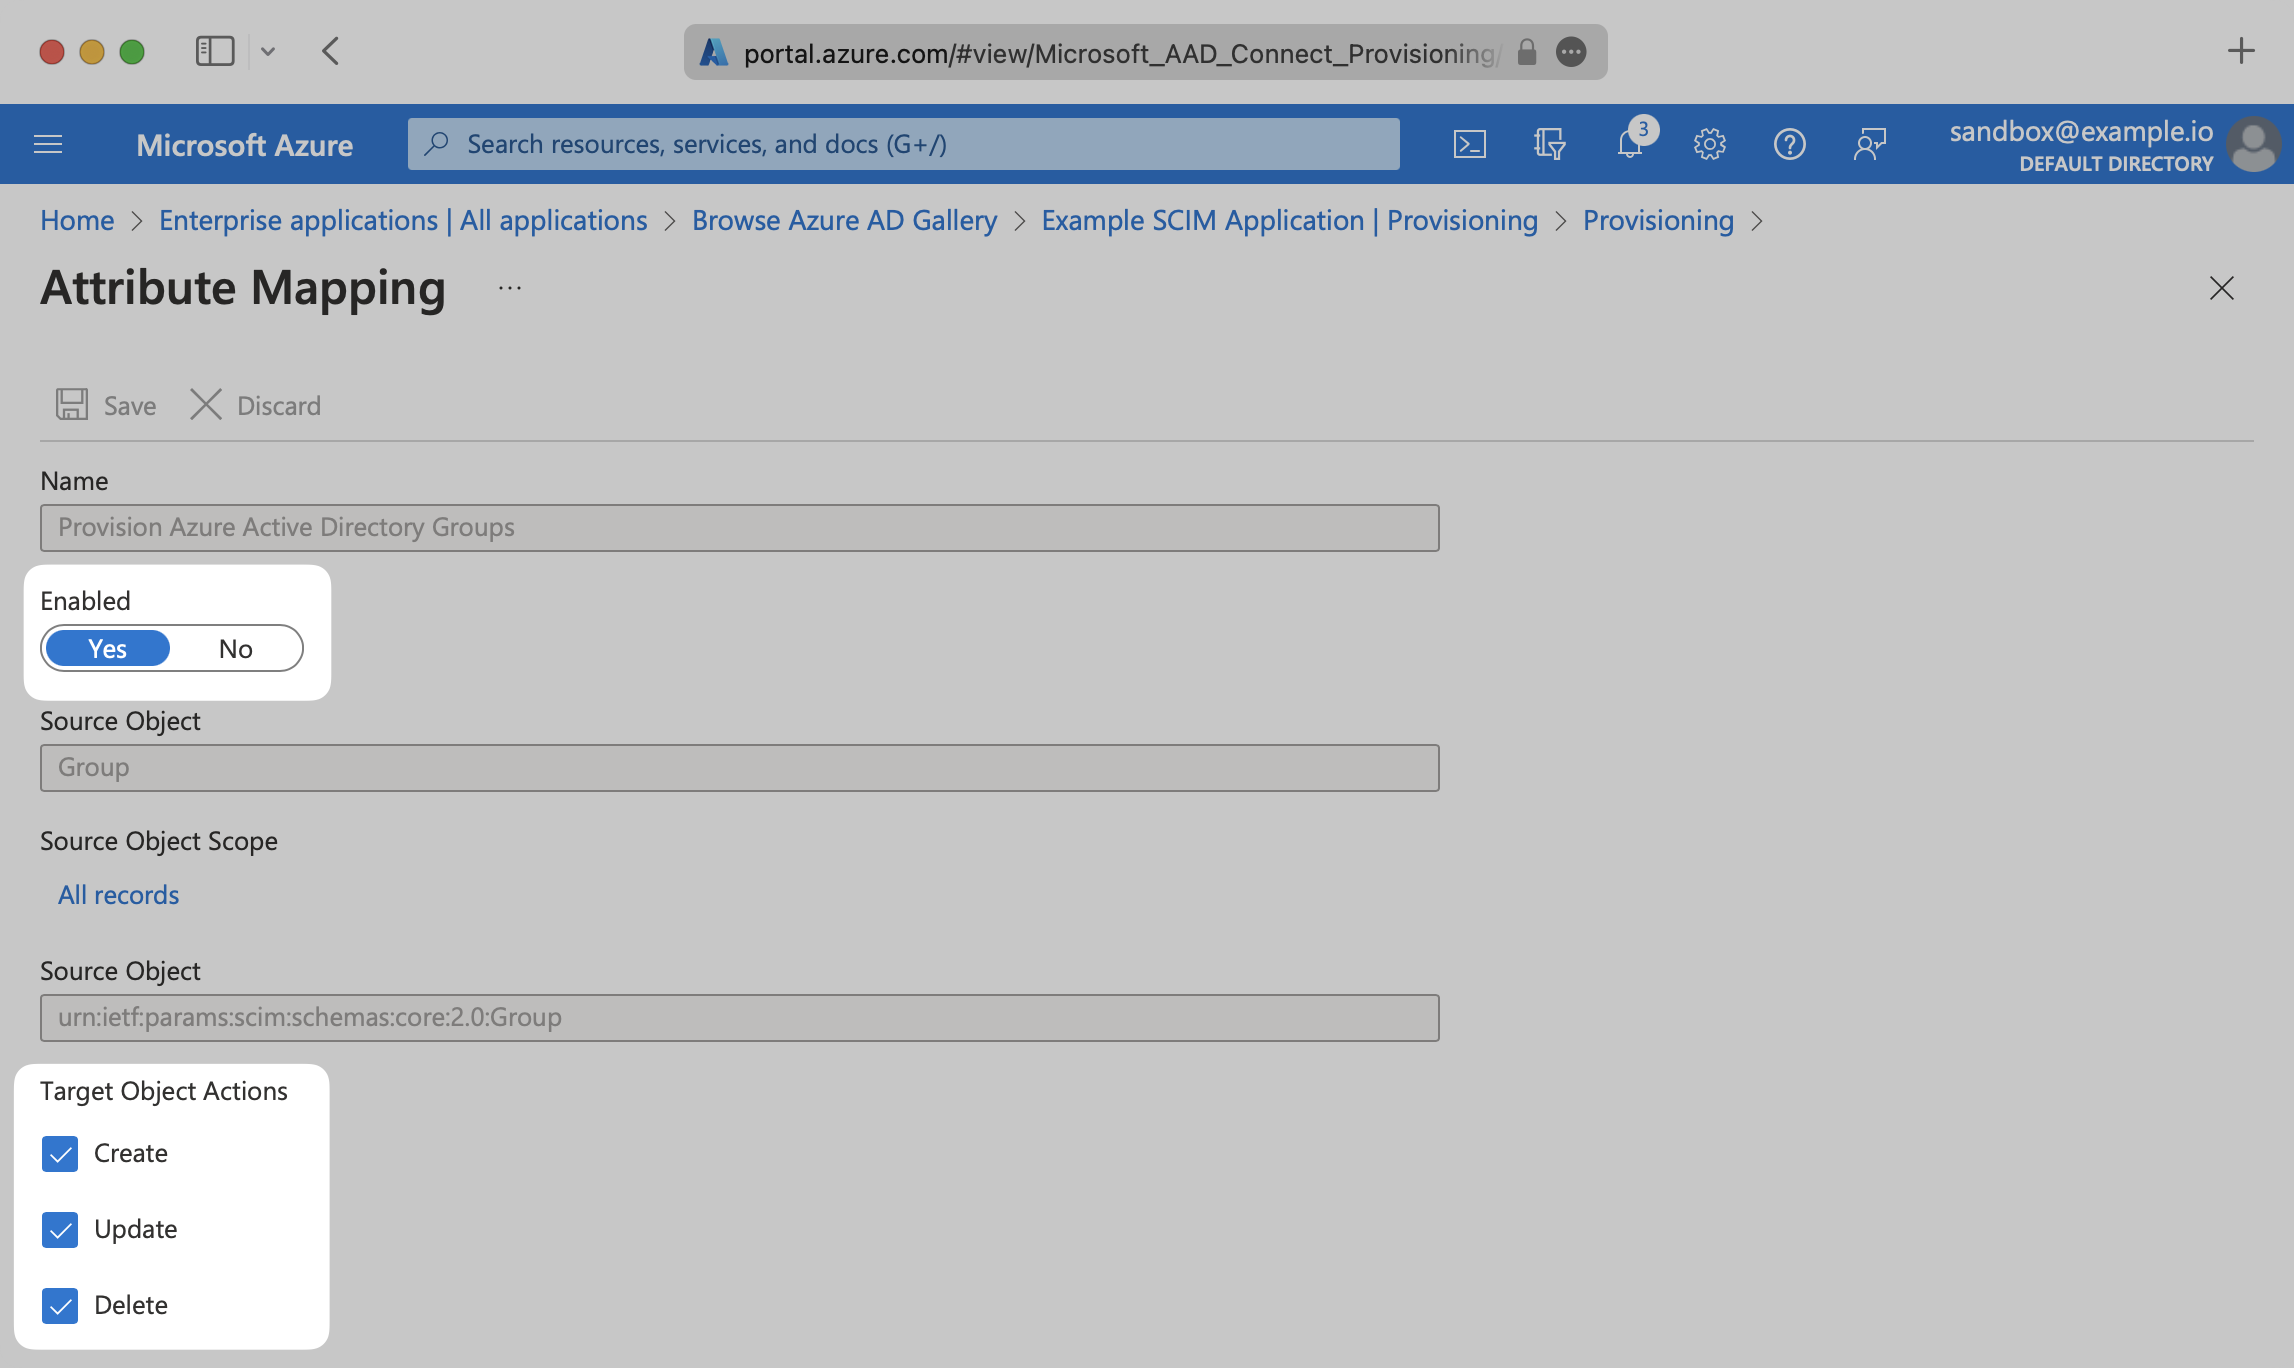
Expand the “Mappings” section.
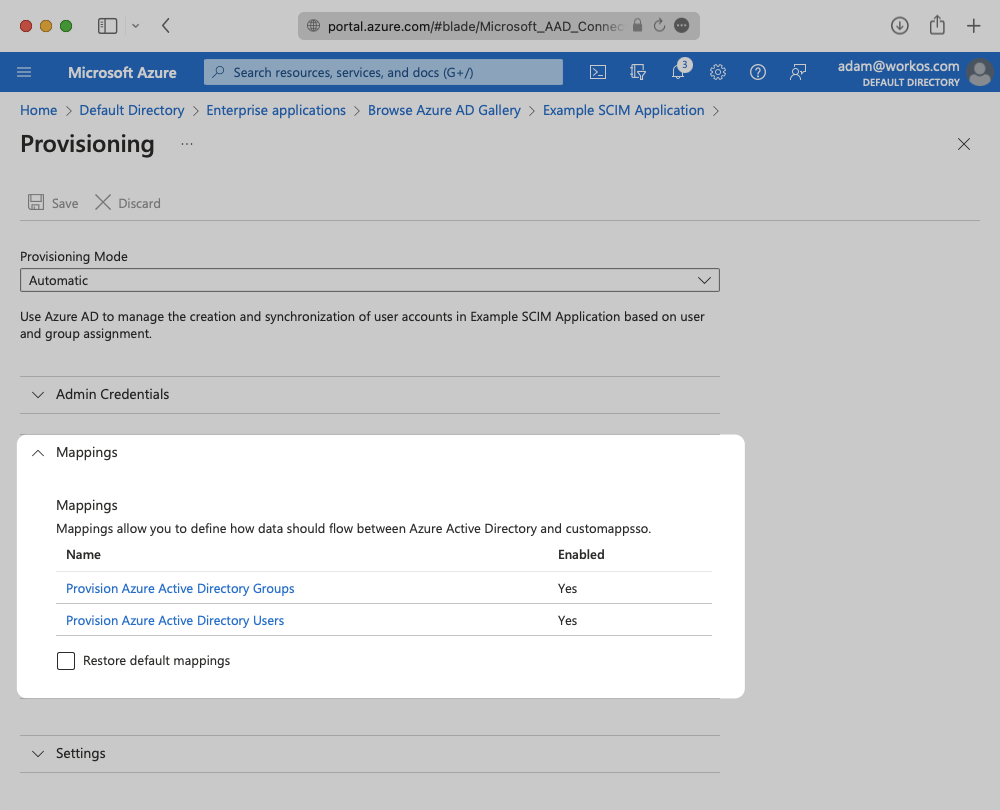
Make sure the group and user attribute mappings are enabled, and are mapping the correct fields. The default mapping should work, but your specific Azure setup may require you to add a custom mapping.
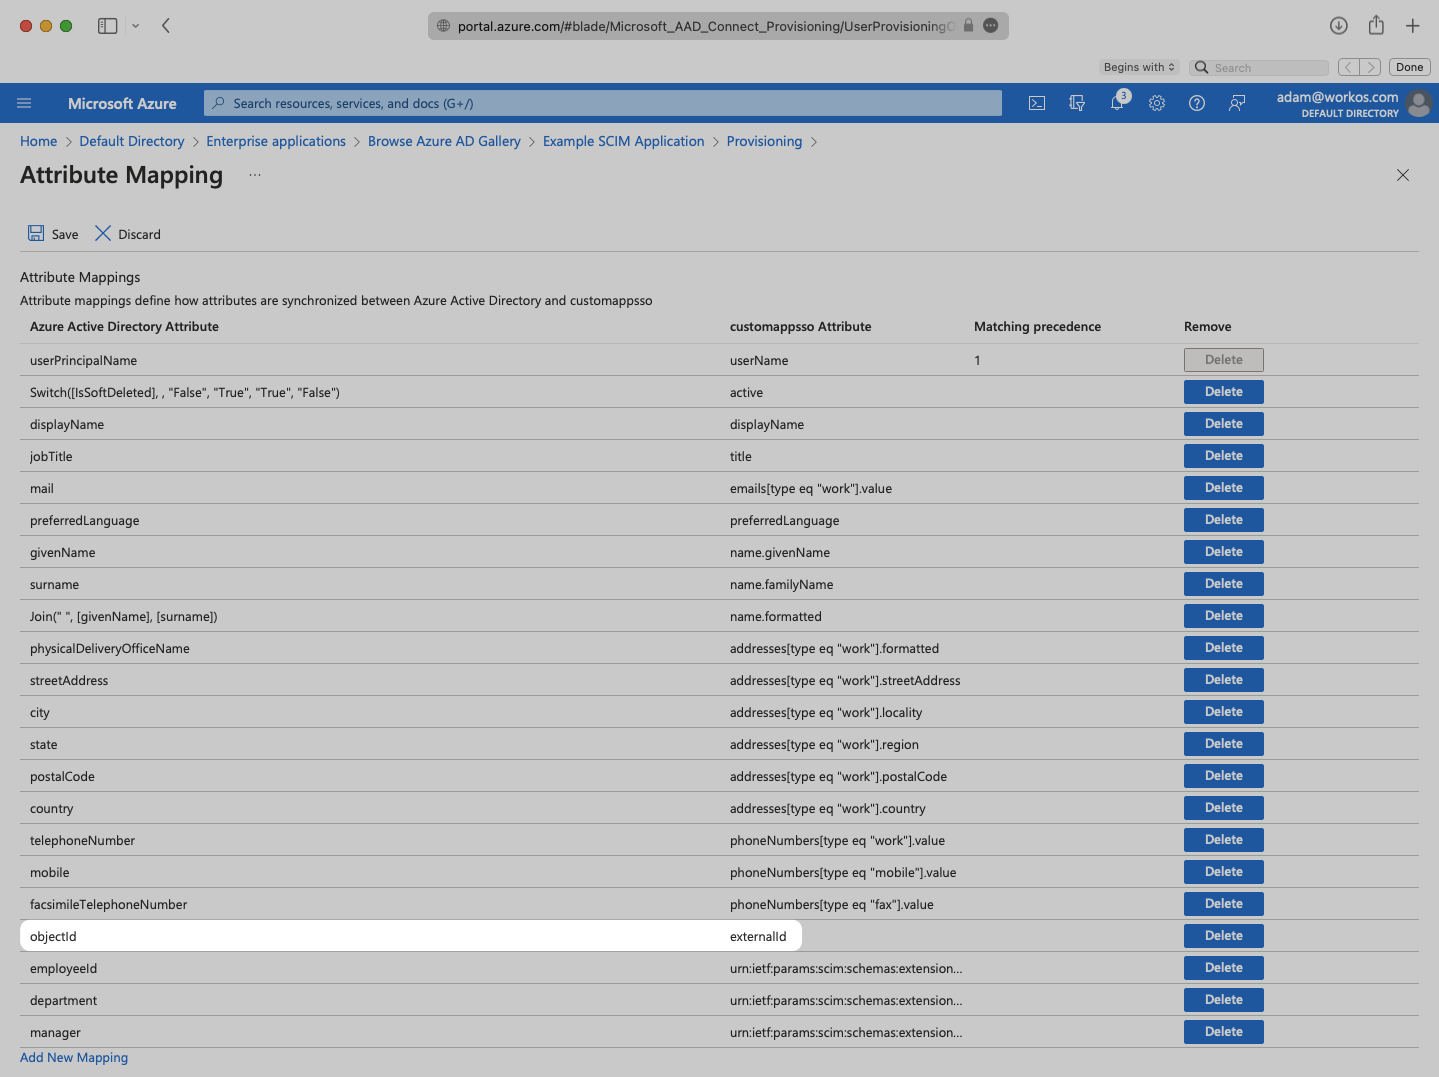
Make sure that you are mapping “objectId” to “externalId” within the Attribute Mapping section.
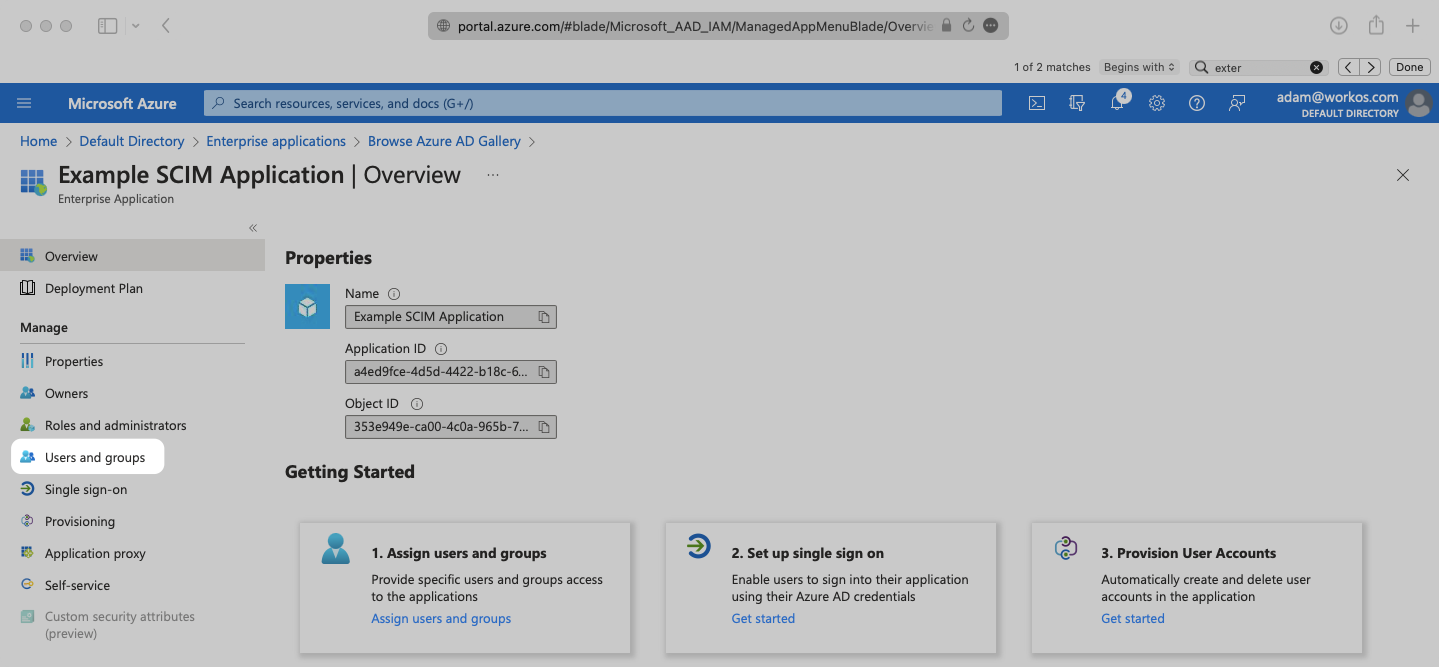
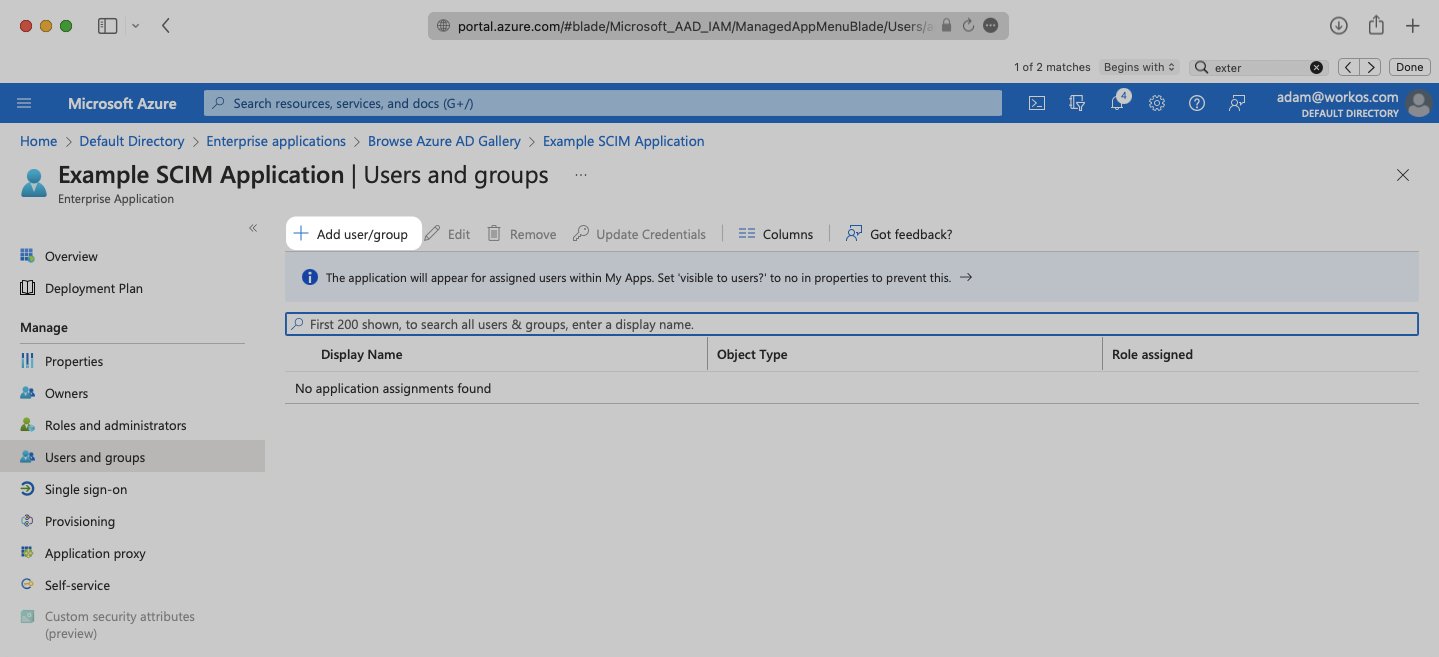
In order for your users and groups to be synced, you will need to assign them to your Azure AD SCIM Application. Select “Users and groups” from the “Manage” section of the navigation menu.
Select “Add user/group” from the top menu.
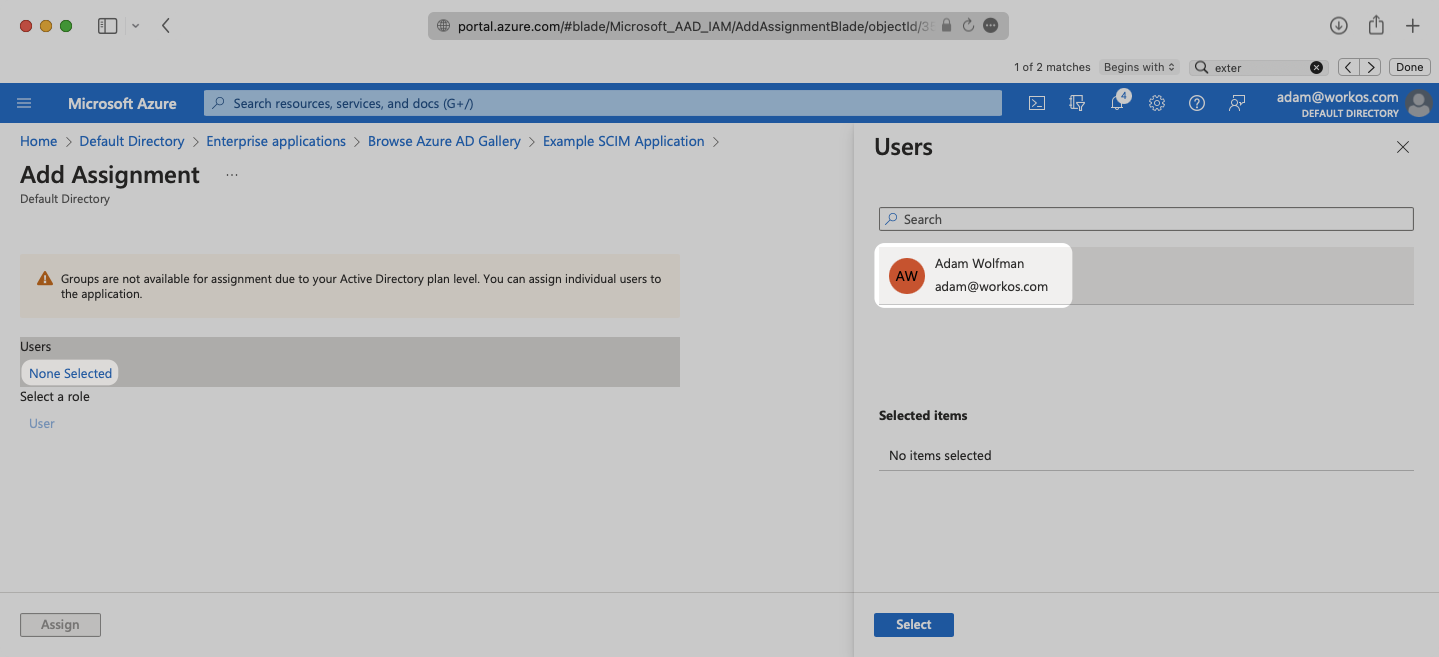
Select “None selected” under the “Users and Groups”. In the menu, select the users and groups that you want to add to the SCIM application, and click “Select”.
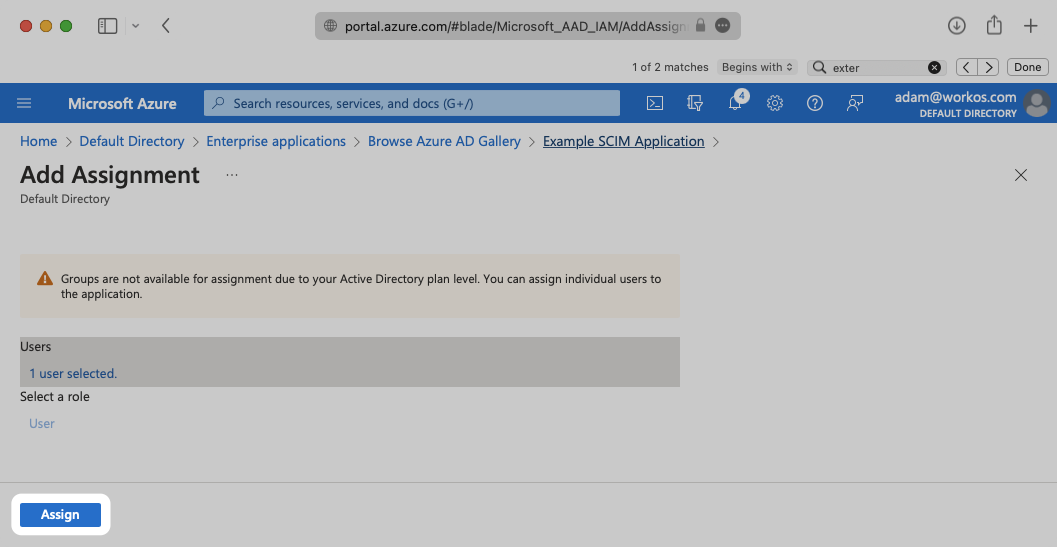
Select “Assign” to add the selected users and groups to your SCIM application.
Confirm the “Provisioning Status” is set to “On” and that the “Scope” is set to “Sync only assigned users and groups”.

Begin provisioning users and groups and witness realtime changes in your WorkOS Dashboard.
No emails are coming through for users from Azure. How do I get emails for my Azure users?
Azure AD usually pulls the email from the mail attribute in Exchange. If your customer doesn’t have this set up, they may need to configure attribute mapping in their SCIM app in Azure. They can use this tutorial from Microsoft. They’ll want to map a known email attribute, such as UPN, to the emails[type eq “work”].value SCIM attribute.